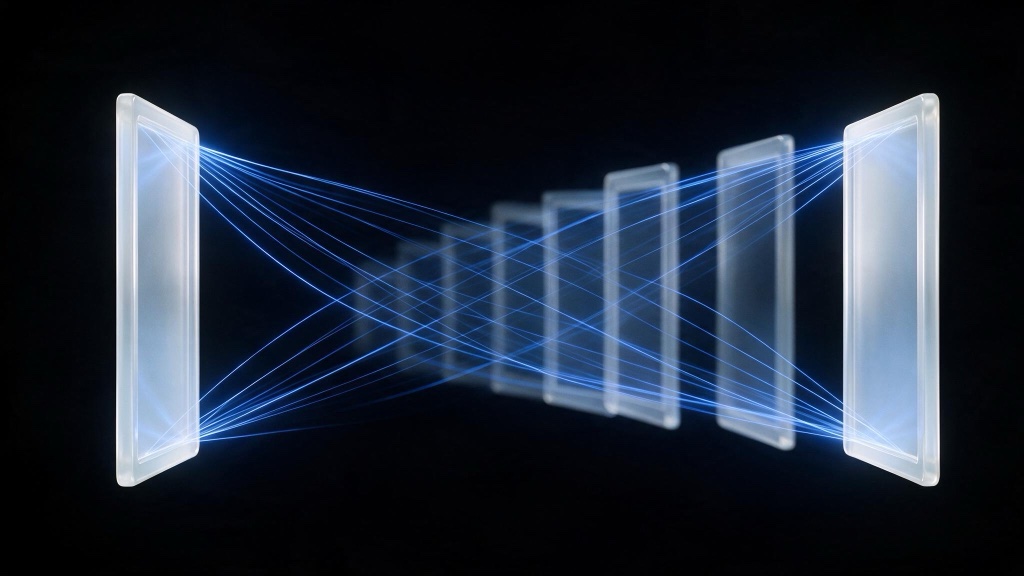
First frame last frame AI video conditioning means you give the model a start image and an end image instead of a text prompt alone. The model generates every frame in between and holds both stills as fixed inputs. The generation stops being an open draw and becomes a solved path: get from this frame to that one, in this many seconds.
Most creatives meet AI video as a slot machine. Type a prompt, get a clip, hope the middle holds. Keyframe conditioning, also called first-last frame or endpoint conditioning, changes the job. You already know how the shot starts and ends, because you made both stills yourself, in Midjourney, in a render, or pulled from footage. The model’s work shrinks to the path between 2 points you chose. That is a smaller problem than “imagine a whole shot,” and it is what lets generated clips cut into a sequence.
- Pin the first and last frame and the model generates only the motion between them, not the whole shot.
- 8 production uses: shot-to-shot continuity, match cuts, loops, controlled camera moves, transformation shots, reveals, push-ins, and style morphs.
- Endpoints need consistent identity, lighting, and grade going in. The model interpolates whatever mismatch you hand it.
- It breaks when endpoints are too far apart, when lighting jumps between them, or when an occlusion at one end is never explained.
How does first frame last frame conditioning work?
Most video models generate a clip as a sequence of latent frames refined together, not one frame after another like a flipbook. Text-to-video conditions that sequence on a prompt alone. Image-to-video anchors the first frame to a still you supply and lets the prompt steer everything after it. First-last frame conditioning anchors both ends and solves for what belongs in between, the way an animator draws the in-betweens for 2 keyframes a lead artist already drew. The tool wants both stills before it starts, plus a short prompt describing the path. The endpoints are already pixels; the prompt spends itself on the motion.
The practical shift is authorship. You stop hoping the model invents a shot and start telling it which shot you already have 2 halves of. Unconstrained generation drifts. Pinning both ends stops the drift from showing.
What are the 8 production uses for pinned endpoints?
One mechanism, 8 jobs that come up in production work.
- Shot-to-shot continuity. Export the last frame of shot A and feed it back in as the first frame of shot B. The cut point is a pixel match, not an approximation of one.
- Match cuts. Same mechanism, 2 scenes. Pin a first frame from scene one and a last frame from a visually similar composition in scene 2, then prompt the transformation between them. The model does the morph.
- Loops. Use the identical still as both the first and last frame, and prompt a motion that returns to its own starting position: a full turn, a breathing cycle, an orbit. Because the endpoints are pixel-identical, the loop point is invisible.
- Controlled camera moves. Render or shoot the same scene from 2 angles, then let the in-between frames become the move that gets from one to the other. A dolly or crane without keyframing a virtual camera.
- Transformation shots. Pin object A as the first frame and object B as the last, and the model generates a path between them: material change, growth, decay, one object becoming another.
- Reveal shots. Start on an obscured frame and end on the full reveal, so the in-between carries the motion of the reveal, a hand lowering, a door opening, fog clearing, instead of a hard cut.
- Establishing-to-detail pushes. Pin a wide establishing frame first and a close detail crop of the same scene last. The model fills a push-in that reads as one continuous move rather than a cut and a zoom.
- Style morphs. Pin the same composition rendered 2 ways, live action and animated, day and night grade, sketch and finish, and let the in-between carry the transition.
How do you set up a keyframe shot step by step?
The mechanism is simple. A clean result depends on preparation more than prompting. If shot-level workflow is new to you, read our guide to what AI filmmaking actually is first; this technique sits inside that larger process. Endpoint conditioning is exposed directly in Runway and in node graphs built with ComfyUI, and the wording differs by tool.
- Prepare both endpoint stills with consistent identity. If a character or object appears in both frames, match face, proportions, and key details across the 2 images. A model asked to connect 2 different-looking faces will either fail the identity or invent a strange transformation to explain the difference.
- Match the grade and lighting between the 2 stills. Same white balance, same key light direction, same overall exposure. The model interpolates lighting the same way it interpolates position, so a mismatch here becomes a visible shift partway through the generated clip.
- Keep the implied motion plausible for the shot length. A short clip cannot carry a subject across a room and back. Pick endpoints a camera or a body could physically cover in the seconds you are generating.
- Describe the path, not the endpoints, in the prompt. The model already has the 2 stills. Spend the prompt on what happens between them: the camera move, the gesture, the pace. “Camera pushes in as she turns to face the lens” tells the model what to do with the pixels it already has.
- Generate, then review the middle, not the ends. The endpoints look right because they are pinned. Scrub the clip and inspect the frames between them for warping, teleporting, or a grade shift.
Generation speed decides how many passes at a shot a schedule can absorb, which is why the frontier metric is moving to the clock: see our piece on tokens per second. If a term here is unfamiliar, the glossary covers conditioning, latent frames, and the rest of the vocabulary.
What does an establishing-to-detail push look like end to end?
Use 7 on that list, the establishing-to-detail push, is the easiest one to audit: a wide frame and a close frame of the same place, one continuous move between them. Here is a full pass, with 2 Seedream 5.0 stills as the endpoints and Seedance 2.0 generating the 5 seconds in between. Every prompt below is quoted exactly as it was sent.
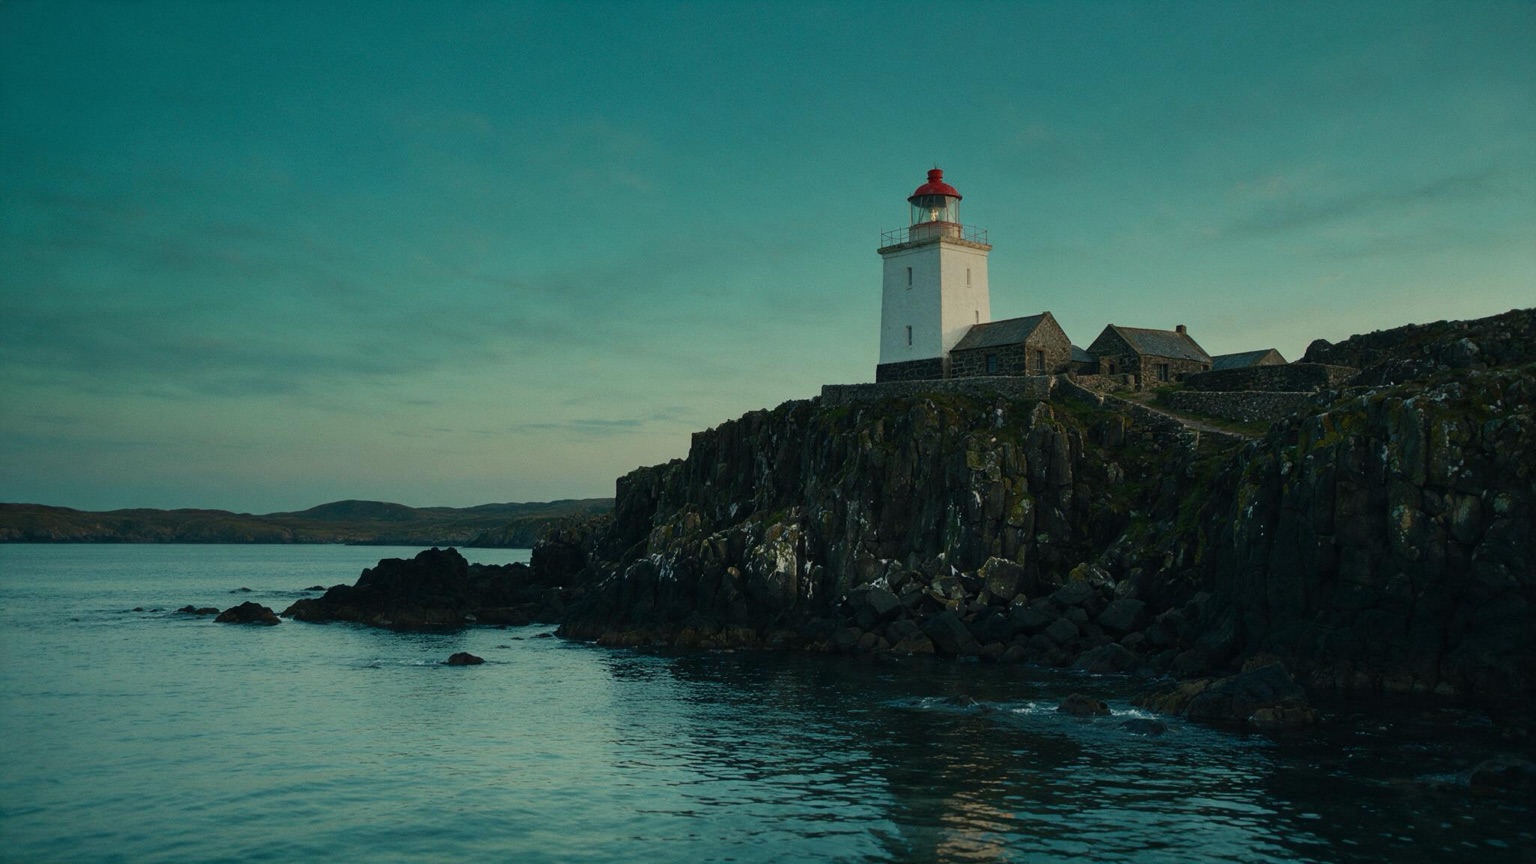
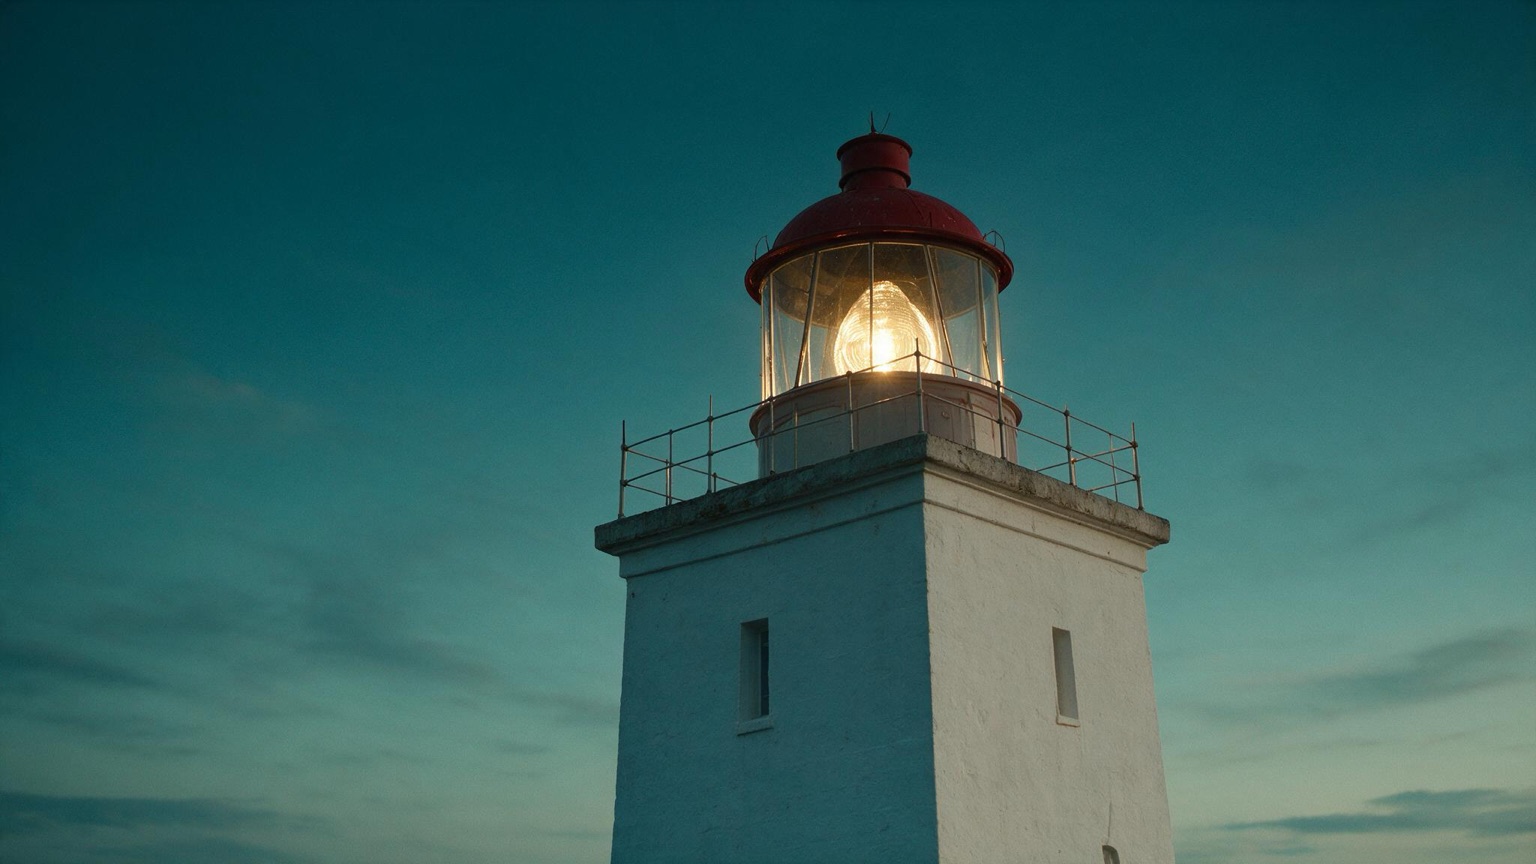
The clip is Seedance 2.0 with first_frame set to the wide still and last_frame set to the close one. Both ends are already pinned, so the prompt describes only the path and says nothing about either endpoint.
Where does first frame last frame conditioning break?
3 failure modes account for most bad keyframe results. All 3 are visible in the source stills, before you spend a generation.
Endpoints too far apart. If the first and last frame differ by more than the shot length can cover, the model cannot find a continuous path and produces a jump mid-clip: a teleport artifact where the subject or camera snaps rather than moves. Fix it with a longer clip, closer endpoints, or an intermediate keyframe if your tool accepts more than 2.
Mismatched lighting between endpoints. A first frame lit warm and a last frame lit cool forces the model to interpolate color temperature across the clip, which reads as a grade shift mid-shot. Each still looks fine in isolation, which is how this one survives to the render.
Unexplained occlusions. If something covers part of the subject in the last frame but not the first, and the prompt does not account for it, the model invents how that occlusion arrived: warped geometry, a hand from nowhere, an object clipping through another. State the occlusion in the prompt so the model has a path to it instead of a mystery to solve.
Questions creatives ask
What does first frame last frame mean in AI video? It is a conditioning mode where you give the model a start image and an end image instead of a text prompt alone. The model generates every frame in between and holds both stills as fixed inputs. The generation stops being an open draw and becomes a solved path: get from this frame to that one, in this many seconds.
How do I make 2 AI shots cut together cleanly? Export the last frame of shot A and use it as the first frame of shot B, describing the new motion in the prompt. Match the lighting, lens character, and color grade between the 2 source stills before you generate, because the model will not correct a mismatch on its own. Match cuts use the same mechanism, with the 2 frames drawn from visually similar compositions in different scenes.
How do I make an AI video loop with no visible cut? Use the same still as both the first and the last frame, then prompt a motion that returns to its starting position, such as a full rotation or a breathing cycle. Because the endpoints are identical, the cut from the last generated frame back to the first is invisible. Keep the motion cyclical; a directional push rarely closes.
Why does my first-to-last-frame shot glitch in the middle? The usual cause is endpoints too far apart for the shot length, which forces the model into a teleport-like jump partway through. Mismatched lighting or grade between the 2 source images produces a visible shift mid-shot, because the model interpolates exposure along with position. An occlusion at one end that the prompt never explains, such as a hand crossing the face in the last frame but not the first, produces warping in the in-between.